How To Turn On Pairing Mode On Beats Solo 3: Your Simple Guide
Getting your favorite headphones connected to your device can feel like a small victory, can't it? For many of us, our Beats Solo 3 headphones are a daily companion, bringing our music and podcasts to life. But, what happens when you get a new phone, or maybe your headphones just seem to be acting a little shy? Knowing how to turn on pairing mode on Beats Solo 3 is pretty much the first step to getting your audio back on track, and it's a skill worth having, you know?
Sometimes, it's almost like these gadgets have a mind of their own, making you wonder if you're doing something wrong. But truly, setting up your Beats Solo 3 for a fresh connection is a very straightforward process once you know the right buttons to press and what the lights mean. It's a bit like learning how to turn features on or off in Windows, where a simple switch makes all the difference, so.
This guide is here to walk you through each step, making sure your Beats Solo 3 are ready to link up with any device you choose. We'll cover everything from getting them ready to understanding what those little lights are telling you, and even some common hiccups you might encounter, too. It's really about making your listening experience smooth and enjoyable, as a matter of fact.
Table of Contents
- Getting Your Beats Solo 3 Ready for a New Connection
- The Straightforward Steps to Activate Pairing Mode
- What the Lights Are Telling You During Pairing
- Connecting Your Beats Solo 3 to Different Devices
- Common Pairing Challenges and Helpful Solutions
- When to Consider a Reset for Pairing Issues
- Keeping Your Beats Connection Strong
- Why a Smooth Pairing Process Matters
- Frequently Asked Questions About Beats Solo 3 Pairing
Getting Your Beats Solo 3 Ready for a New Connection
Before you even think about hitting that pairing button, there are a couple of small things you can do to make the whole process smoother. It's a bit like preparing your workspace before starting a big project, you know? A little preparation can really save you some time and frustration down the line, so.
First off, make sure your Beats Solo 3 headphones have enough battery life. A low battery can sometimes make them a bit unreliable when trying to connect, which is something you definitely want to avoid. Just give them a quick charge, perhaps for about ten minutes, to be on the safe side, actually.
Next, it's a good idea to make sure your headphones aren't already connected to another device nearby. Bluetooth signals can get a little mixed up if your Beats are trying to hold onto an old connection while you're trying to create a new one. Just turn off Bluetooth on any previously connected phones or tablets that are close by, for instance.
Also, clear any physical obstacles between your headphones and the device you want to pair them with. While Bluetooth is pretty good, walls or even your own body can sometimes weaken the signal just a little, especially during the initial pairing phase. Keep them close together, perhaps within a few feet, when you start the process, you know.
Think of it as setting the stage for a perfect connection. By taking these few moments to prepare, you're giving your Beats Solo 3 the best chance to pair quickly and without a fuss, which is pretty important. It’s a bit like ensuring all your settings are right before you try to enable or disable a feature on your computer, you know.
The Straightforward Steps to Activate Pairing Mode
Now, let's get down to the main event: actually putting your Beats Solo 3 into pairing mode. This is the moment your headphones start looking for a new friend to connect with. It’s a pretty simple action, but getting it just right is key, so.
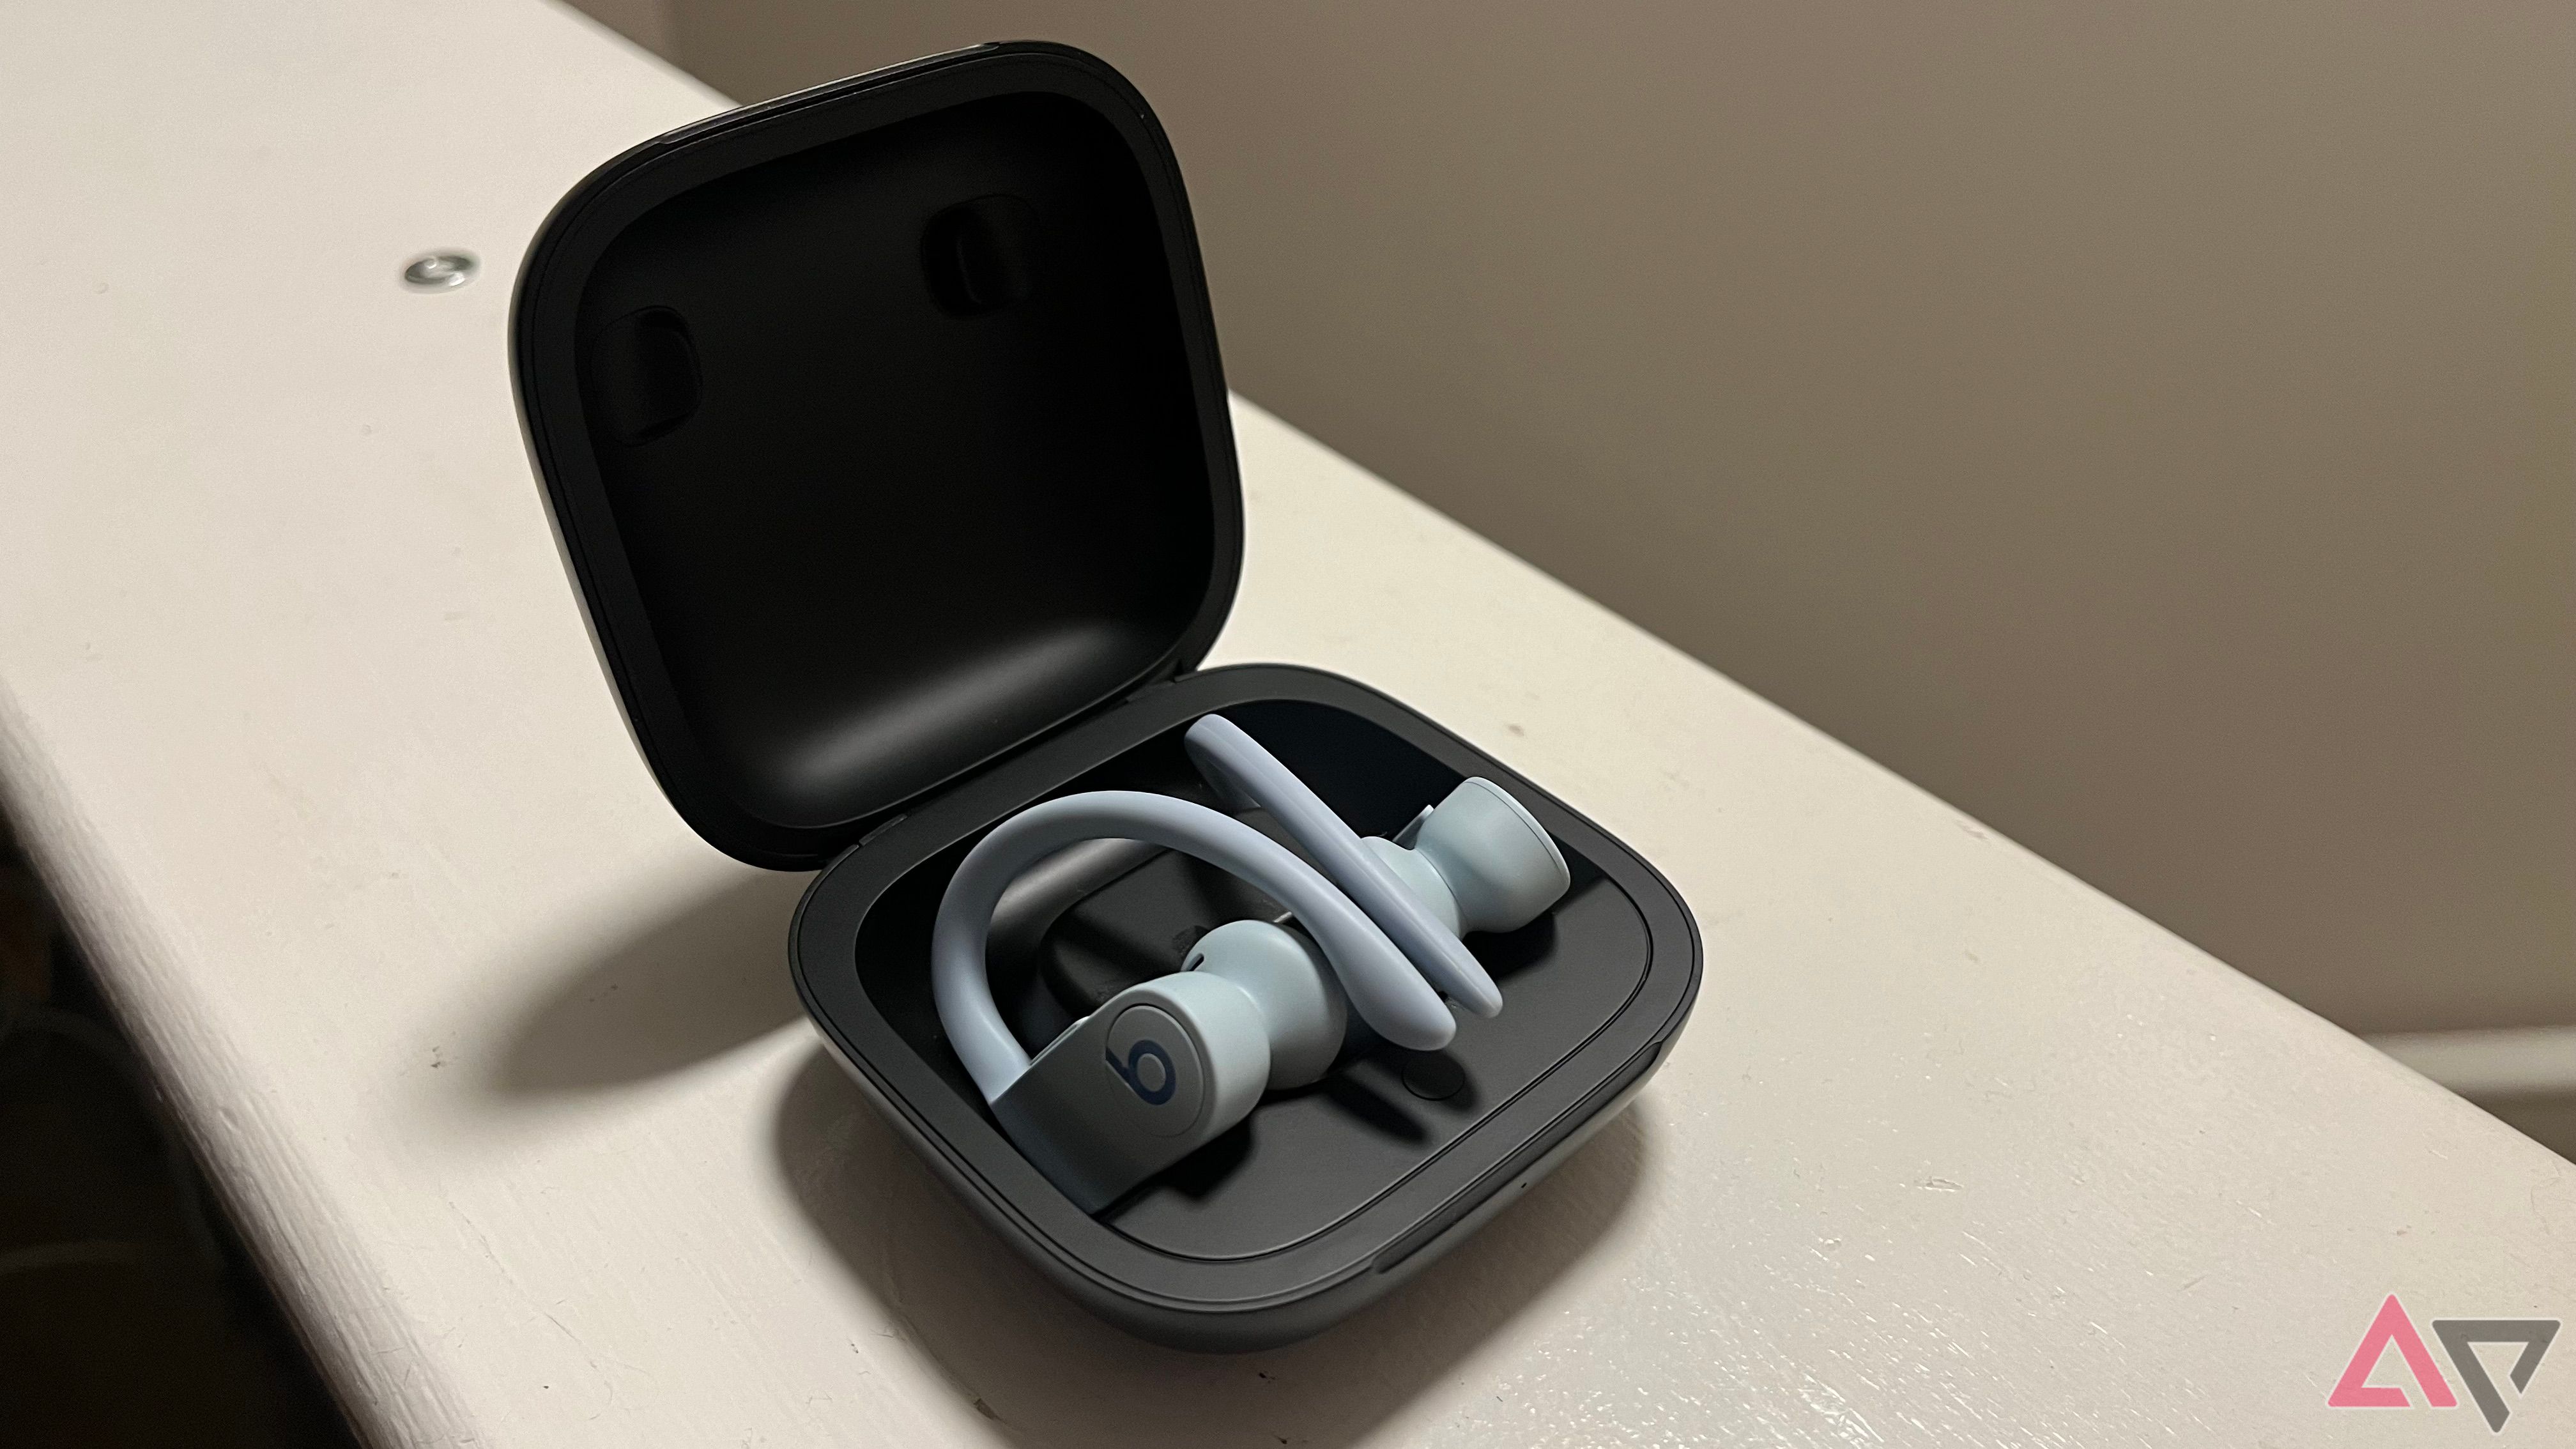
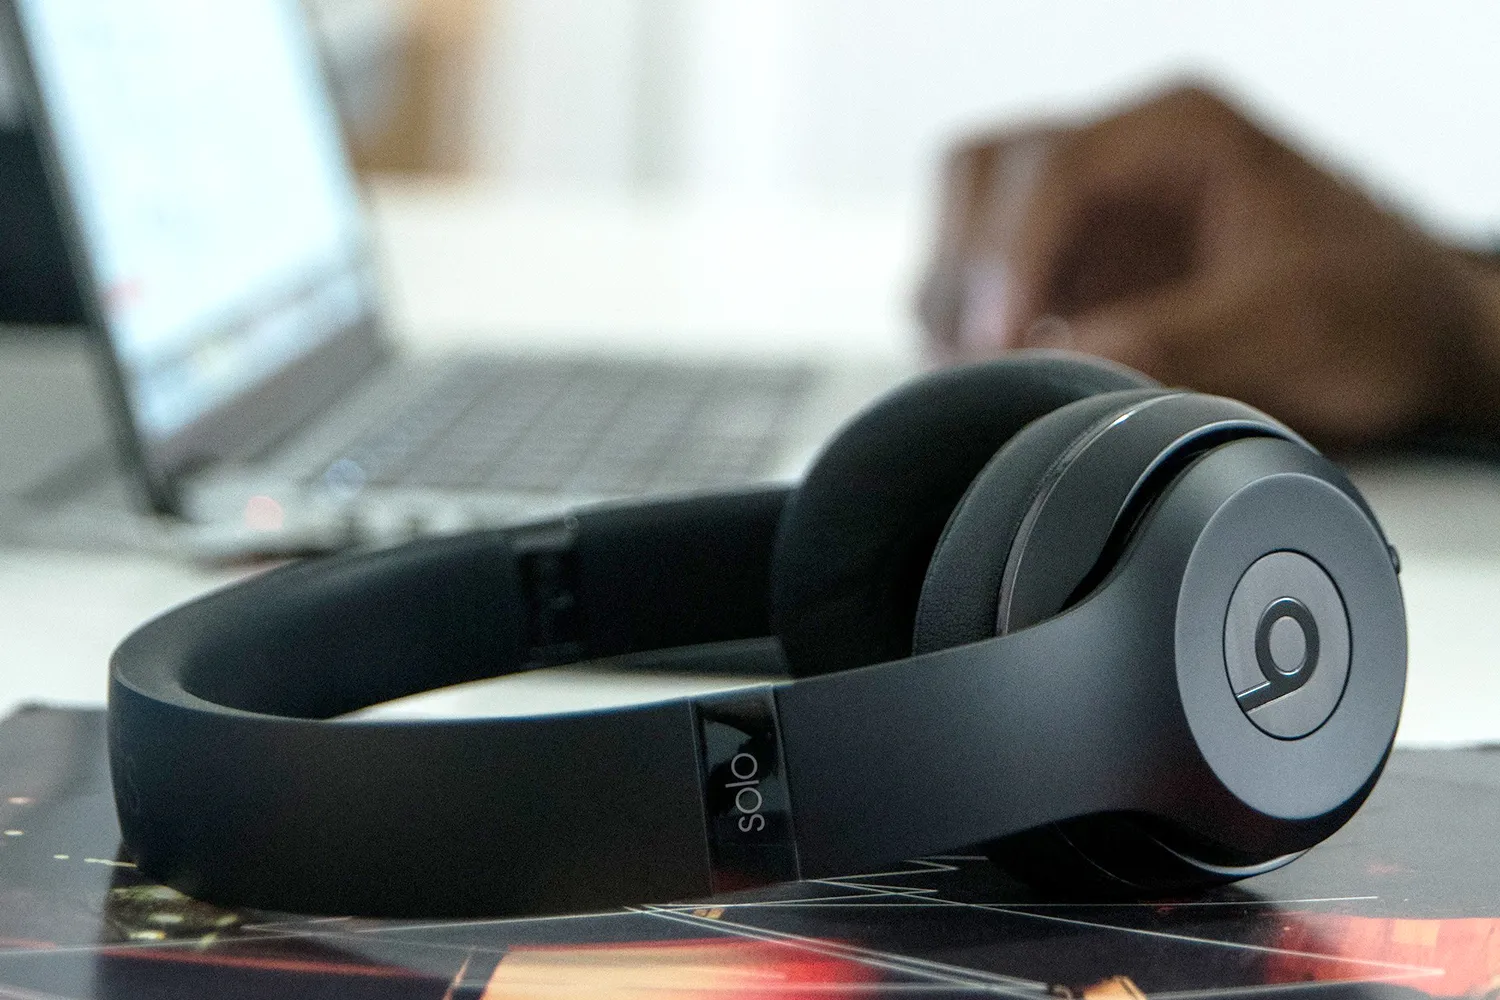
First, locate the power button on your Beats Solo 3. This button is usually on the right ear cup, near the bottom edge. It's a small, round button, pretty easy to find by feel, as a matter of fact.
To begin, make sure your Beats Solo 3 are powered off. If they're already on, simply press and hold the power button for a moment or two until the LED indicator lights go dark. You want to start from a completely off state for the best results, you know.
Once they're off, press and hold that same power button again. This time, keep holding it down. Don't just tap it, really hold it. You're looking for a specific visual cue, which is pretty important.
After a few seconds, you'll see the LED fuel gauge lights start to flash. They won't just light up; they'll pulse or blink. This flashing pattern is your signal that your Beats Solo 3 are now actively searching for a device to pair with, so.
Keep holding the button until those lights are flashing rapidly. A slow flash means they're just turning on, but a fast, energetic flash means they're in full-on pairing mode, ready to be discovered. This usually takes about five to eight seconds of continuous holding, you know.
Once the lights are flashing quickly, you can let go of the power button. Your Beats Solo 3 are now in pairing mode and will stay in this state for a limited time, usually a minute or two, waiting for a connection. This is the window where your device needs to find them, actually.
It's a very precise timing, but once you do it a couple of times, it becomes second nature. Just remember: off first, then press and hold until the lights are really dancing, you know.
What the Lights Are Telling You During Pairing
Those little LED lights on your Beats Solo 3 aren't just for show; they're actually giving you important messages about what your headphones are doing. Understanding their language can really help you troubleshoot if things aren't going as planned, which is pretty useful, so.
When you first press the power button to turn them on, the lights will briefly illuminate to show you the battery level. A full set of white lights means a full charge, and fewer lights mean less power. This is just a quick check, you know.
During the actual pairing mode, as we just discussed, the lights will flash rapidly. This fast, energetic blinking is the key indicator that your Beats Solo 3 are actively broadcasting their presence and waiting for a device to connect. If they're not flashing rapidly, they're not in pairing mode, basically.
If the lights are flashing slowly, or just one light is blinking, that usually means they're trying to connect to a previously paired device, or perhaps the battery is very low. This is not pairing mode for a new device, you know, so you'll need to hold the button longer.
Once your Beats Solo 3 successfully connect to a device, the lights will stop flashing and either turn solid white for a few seconds before going dark, or they might show the battery level again. This solid light is your confirmation that a connection has been made, actually.
If the lights turn red, or flash red, that's usually a sign of a very low battery. In this case, your primary step should be to charge your headphones before attempting any pairing. They need power to perform, you know.
So, pay close attention to those lights. They are a very simple but effective way to know the status of your Beats Solo 3 and whether they're ready for their next audio adventure. It's a bit like checking the status of a feature in Windows; the visual cue tells you everything, you know.
Connecting Your Beats Solo 3 to Different Devices
Once your Beats Solo 3 are in pairing mode, the next step is to make your device find them. The exact steps can vary a little depending on whether you're using an Apple device, an Android phone, or a computer. But the general idea is the same: you need to tell your device to look for new Bluetooth accessories, so.
Make sure your device's Bluetooth is turned on. This might seem obvious, but it's a very common oversight. Just like turning on or off a specific feature, Bluetooth needs to be active to work, you know.
Keep your Beats Solo 3 close to the device you want to pair them with. Proximity helps ensure a strong, clear signal during the initial connection process. A few feet is usually more than enough, actually.
For Apple iPhone and iPad Users
Connecting your Beats Solo 3 to an iPhone or iPad is usually a very smooth experience, thanks to Apple's W1 chip inside the headphones. It's almost magical how quickly it happens, you know.
First, make sure your iPhone or iPad is unlocked and on the Home screen. Then, put your Beats Solo 3 into pairing mode by holding the power button until the lights flash rapidly, as we talked about earlier, actually.
Now, simply hold your Beats Solo 3 very close to your unlocked iPhone or iPad. You should see a pop-up window appear on your device's screen, asking if you want to connect your Beats. This is the W1 chip doing its work, so.
Tap "Connect" on the pop-up. That's pretty much it! Your iPhone or iPad will quickly pair with your Beats Solo 3, and you'll see a confirmation message. The battery level of your Beats will also appear right there on your screen, which is very convenient, you know.
This process is remarkably simple, and it's one of the big advantages of having Beats headphones with an Apple device. It truly simplifies the whole connection process, like a very well-designed application desktop toolbar, basically.
For Android Smartphones and Tablets
Connecting your Beats Solo 3 to an Android device is also straightforward, though it requires a few more taps than with an Apple device. It's a very standard Bluetooth pairing process, you know.
Start by putting your Beats Solo 3 into pairing mode (rapidly flashing lights). Make sure they are close to your Android phone or tablet, actually.
On your Android device, open the "Settings" app. You can usually find this by swiping down from the top of your screen and tapping the gear icon, or by finding the "Settings" app in your app drawer, so.
Inside Settings, look for "Connected devices" or "Bluetooth." The exact wording might vary a little depending on your Android version or phone brand, but it's usually easy to spot. Tap on that option, you know.
Now, tap on "Pair new device" or "Bluetooth" again to see a list of available devices. Your Beats Solo 3 should appear in this list, likely as "Beats Solo3 Wireless." If you don't see them, tap "Refresh" or scan again, basically.
Tap on "Beats Solo3 Wireless" to select them. Your Android device will then attempt to pair. You might see a pop-up asking to confirm the pairing, or it might just connect directly. Once connected, your Beats Solo 3 will show as "Connected" in the list, you know.
It's a pretty standard procedure for any Bluetooth accessory, really. Just a few steps to navigate through the settings, and you're good to go, which is very common for many devices, you know.
For Windows Computers
Pairing your Beats Solo 3 with a Windows computer involves going into the Bluetooth settings, much like you would to enable or disable other Windows features. It's a common path for connecting wireless accessories, so.
First, ensure your Beats Solo 3 are in pairing mode (rapidly flashing lights). Keep them near your computer, actually.
On your Windows 10 or 11 computer, click the "Start" button, then select "Settings." You can also type "Bluetooth" into the search bar and select "Bluetooth & other devices settings," which is very fast, you know.
In the Settings window, click on "Devices," then select "Bluetooth & other devices" from the left-hand menu. Make sure the Bluetooth toggle switch is set to "On." If it's off, turn it on, as a matter of fact.
Now, click on "Add Bluetooth or other device," then choose "Bluetooth" from the options that appear. Your computer will start searching for nearby Bluetooth devices, you know.
Look for "Beats Solo3 Wireless" in the list of discovered devices. Click on it. Windows will then attempt to pair with your headphones. You might see a "Connecting" message, and then a "Your device is ready to go!" confirmation, so.
Once connected, your Beats Solo 3 will appear under the "Audio" section in your Bluetooth settings. You can now use them for sound output. It's a pretty standard process, really, much like connecting any other wireless audio device, you know.
For Mac Computers
Connecting your Beats Solo 3 to a Mac is also quite straightforward, especially if you're already familiar with your Mac's system preferences. It's a very intuitive process, you know.
Begin by putting your Beats Solo 3 into pairing mode (rapidly flashing lights). Keep them close to your Mac, actually.
On your Mac, click on the Apple menu in the top-left corner of your screen, then select "System Settings" (or "System Preferences" on older macOS versions). This is where you manage all your computer's features, so.
In the System Settings window, click on "Bluetooth" in the sidebar. Make sure Bluetooth is turned on. If it's off, click the toggle to enable it, which is pretty important, you know.
Your Mac will now start searching for nearby Bluetooth devices. In the list of "Devices," you should see "Beats Solo3 Wireless" appear. It might take a few moments for it to show up, so be a little patient, basically.
Click the "Connect" button next to "Beats Solo3 Wireless." Your Mac will then pair with your headphones. Once connected, the status next to your Beats will change to "Connected," and they will be ready for use, you know.
It's a very consistent process across Apple's ecosystem, making it easy to switch between devices once you've done it a few times. The convenience is really quite noticeable, you know.
Common Pairing Challenges and Helpful Solutions
Even with the best instructions, sometimes things don't go exactly as planned. Bluetooth can be a bit finicky sometimes, and your Beats Solo 3 might seem reluctant to pair. Don't worry, there are usually some simple fixes for these common issues, so.
One very common problem is that your Beats Solo 3 just don't appear in the list of available devices on your phone or computer. This often happens if they're not truly in pairing mode, or if another device is holding onto their connection, you know.
If your Beats aren't showing up, first double-check that they are indeed flashing rapidly. If not, power them off and try putting them into pairing mode again, holding the button for the full duration. This is a very frequent fix, actually.
Another thing to try is turning off Bluetooth on any other devices nearby that might have previously connected to your Beats. Sometimes, your headphones try to reconnect to an old friend instead of looking for a new one. This can clear up any confusion, you know.
If your Beats appear but won't connect, or if they connect but then quickly disconnect, try restarting both your Beats Solo 3 and the device you're trying to pair them with. A quick reboot can often clear up minor software glitches that are getting in the way, which is very helpful, so.
Also, make sure your device's operating system is up to date. Sometimes, older software versions can have Bluetooth bugs that prevent proper pairing. A system update can resolve these issues, just like how updates fix problems with Windows features, you know.
Interference can also be a culprit. Other wireless devices, like Wi-Fi routers, microwaves, or even other Bluetooth devices, can sometimes disrupt the signal. Try pairing in a different location, away from potential sources of interference, which can sometimes make a big difference, you know.
Finally, if you've tried all of these steps and your Beats Solo 3 still aren't cooperating, it might be time to consider a reset. This can often clear out any persistent issues that are preventing a successful connection, as a matter of fact.
When to Consider a Reset for Pairing Issues
Sometimes, despite your best efforts, your Beats Solo 3 just won't pair, or they might be acting strangely. In these situations, a reset can be a very powerful tool. It's a bit like giving your headphones a fresh start, clearing out any old, confusing information, so.
There are generally two types of resets you can perform: a soft reset and a full factory reset. Knowing which one to use can save you time and effort, you know.
A Soft Reset for Minor Glitches
A soft reset is often enough for minor issues, like if your Beats are connected but the sound is cutting out, or if they seem to be frozen. It's a very simple action that doesn't erase any of your pairing history, actually.
To perform a soft reset, simply power off your Beats Solo 3. Then, wait for about ten to fifteen seconds. After that short wait, power them back on again. This quick cycle can often clear up temporary software hiccups, you know.
It's similar to restarting your phone when an app is misbehaving; it often resolves the problem without needing to do anything more drastic. This should be your first step if you're experiencing minor connection issues after a successful pairing, you know.
The Full Factory Reset for Stubborn Problems
If a soft reset doesn't help, or if your Beats Solo 3 absolutely refuse to enter pairing mode or connect, a full factory reset is your next step. This will erase all previous pairings and settings, returning your headphones to their original, out-of-the-box state. It's a very thorough solution, so.
To perform a factory reset on your Beats Solo 3, you'll need to locate two specific buttons: the power button and the volume down button. Both are on the right ear cup, you know.
First, make sure your Beats Solo 3 are powered on. It's important that they are on for this step, as a matter of fact.
Now, press and hold both the power button and the volume down button simultaneously. Keep holding them down. Don't let go, even if the lights do something funny, you know.
After about ten to fifteen seconds, the LED fuel gauge lights will begin to flash red and white. This is your visual confirmation that the factory reset is happening. Once you see this, you can release the buttons, actually.
Your Beats Solo 3 have now been reset to their factory settings. This means they've forgotten all previous devices and are ready to be paired as if they were brand new. You'll then need to put them back into pairing mode (rapidly flashing lights) and try connecting them to your device again, you know.
A factory reset is a very powerful tool for resolving persistent pairing issues, but remember it clears everything. You'll need to reconnect to all your devices again after this, which is something to keep in mind, you know.
Keeping Your Beats Connection Strong
Once you've successfully paired your Beats Solo 3, you want that connection to stay solid and reliable. There are a few simple habits you can adopt to help ensure a smooth listening experience every time, so.
Always try to keep your device and your Beats Solo 3 relatively close to each other when in use. While Bluetooth can reach a good distance, staying within a reasonable range, perhaps 30 feet or so, helps maintain a strong, clear signal, you know.
Avoid placing large objects or your body directly between your headphones and your device. Bluetooth signals can be absorbed or blocked by physical barriers, leading to audio dropouts. This is a very common reason for connection issues, actually.
When you're done listening, it's a good practice to disconnect your Beats Solo 3 properly, either by turning them off or by disconnecting them through your device's Bluetooth settings. This prevents them from trying to connect to a device you're no longer using, which can sometimes cause confusion later, you know.
Keep your Beats Solo 3 charged. A low battery isn't just a problem for initial pairing; it can also lead to an unstable connection or unexpected disconnections during use. Regular charging is a very simple way to keep them performing well, so.
From time to time, it's also a good idea to clear out old, unused Bluetooth connections from your
Beats: How to pair your earbuds or headphones
How to Turn Off Beats Solo 3

Easy Guide: How To Put Beats In Pairing Mode? - The Chicago Weekly
