Finding The Best Remote IoT Platform For Your Raspberry Pi Projects
Are you curious about connecting your Raspberry Pi creations to the wider world, perhaps even checking on them from far away? It's a pretty cool thought, isn't that, to have your devices sending you updates or taking commands no matter where you are? This whole idea of controlling gadgets remotely, especially those powered by a little computer like the Raspberry Pi, is something many people are looking into right now. It means your smart home projects, environmental sensors, or even a pet feeder can talk to you and follow your instructions, even when you're not right there next to them.
There are so many neat possibilities when you get your Raspberry Pi to communicate over the internet. You could, for instance, monitor the temperature in your greenhouse while you are at work, or maybe turn on some lights before you get home. It opens up a lot of ways to make your everyday life a bit more convenient and, well, just more interesting. Picking the right setup for this remote communication, a kind of digital bridge, can make all the difference in how smoothly your project runs, too it's almost a given.
So, we're going to talk about what makes a remote IoT platform truly good for a Raspberry Pi, helping you figure out which one might be the absolute number one choice for what you want to do. We'll look at different options and what they bring to the table, so you can pick something that feels just right for your own creations. You know, finding the one that really excels all others for your specific needs is the aim here.
Table of Contents
- Understanding Remote IoT with Raspberry Pi
- What Makes a Remote IoT Platform Stand Out?
- Top Choices for Raspberry Pi Remote IoT
- Getting Your Raspberry Pi Ready for Remote Control
- Picking the Ideal Platform for Your Endeavor
- Tips for a Smooth Remote IoT Project
- Frequently Asked Questions
Understanding Remote IoT with Raspberry Pi
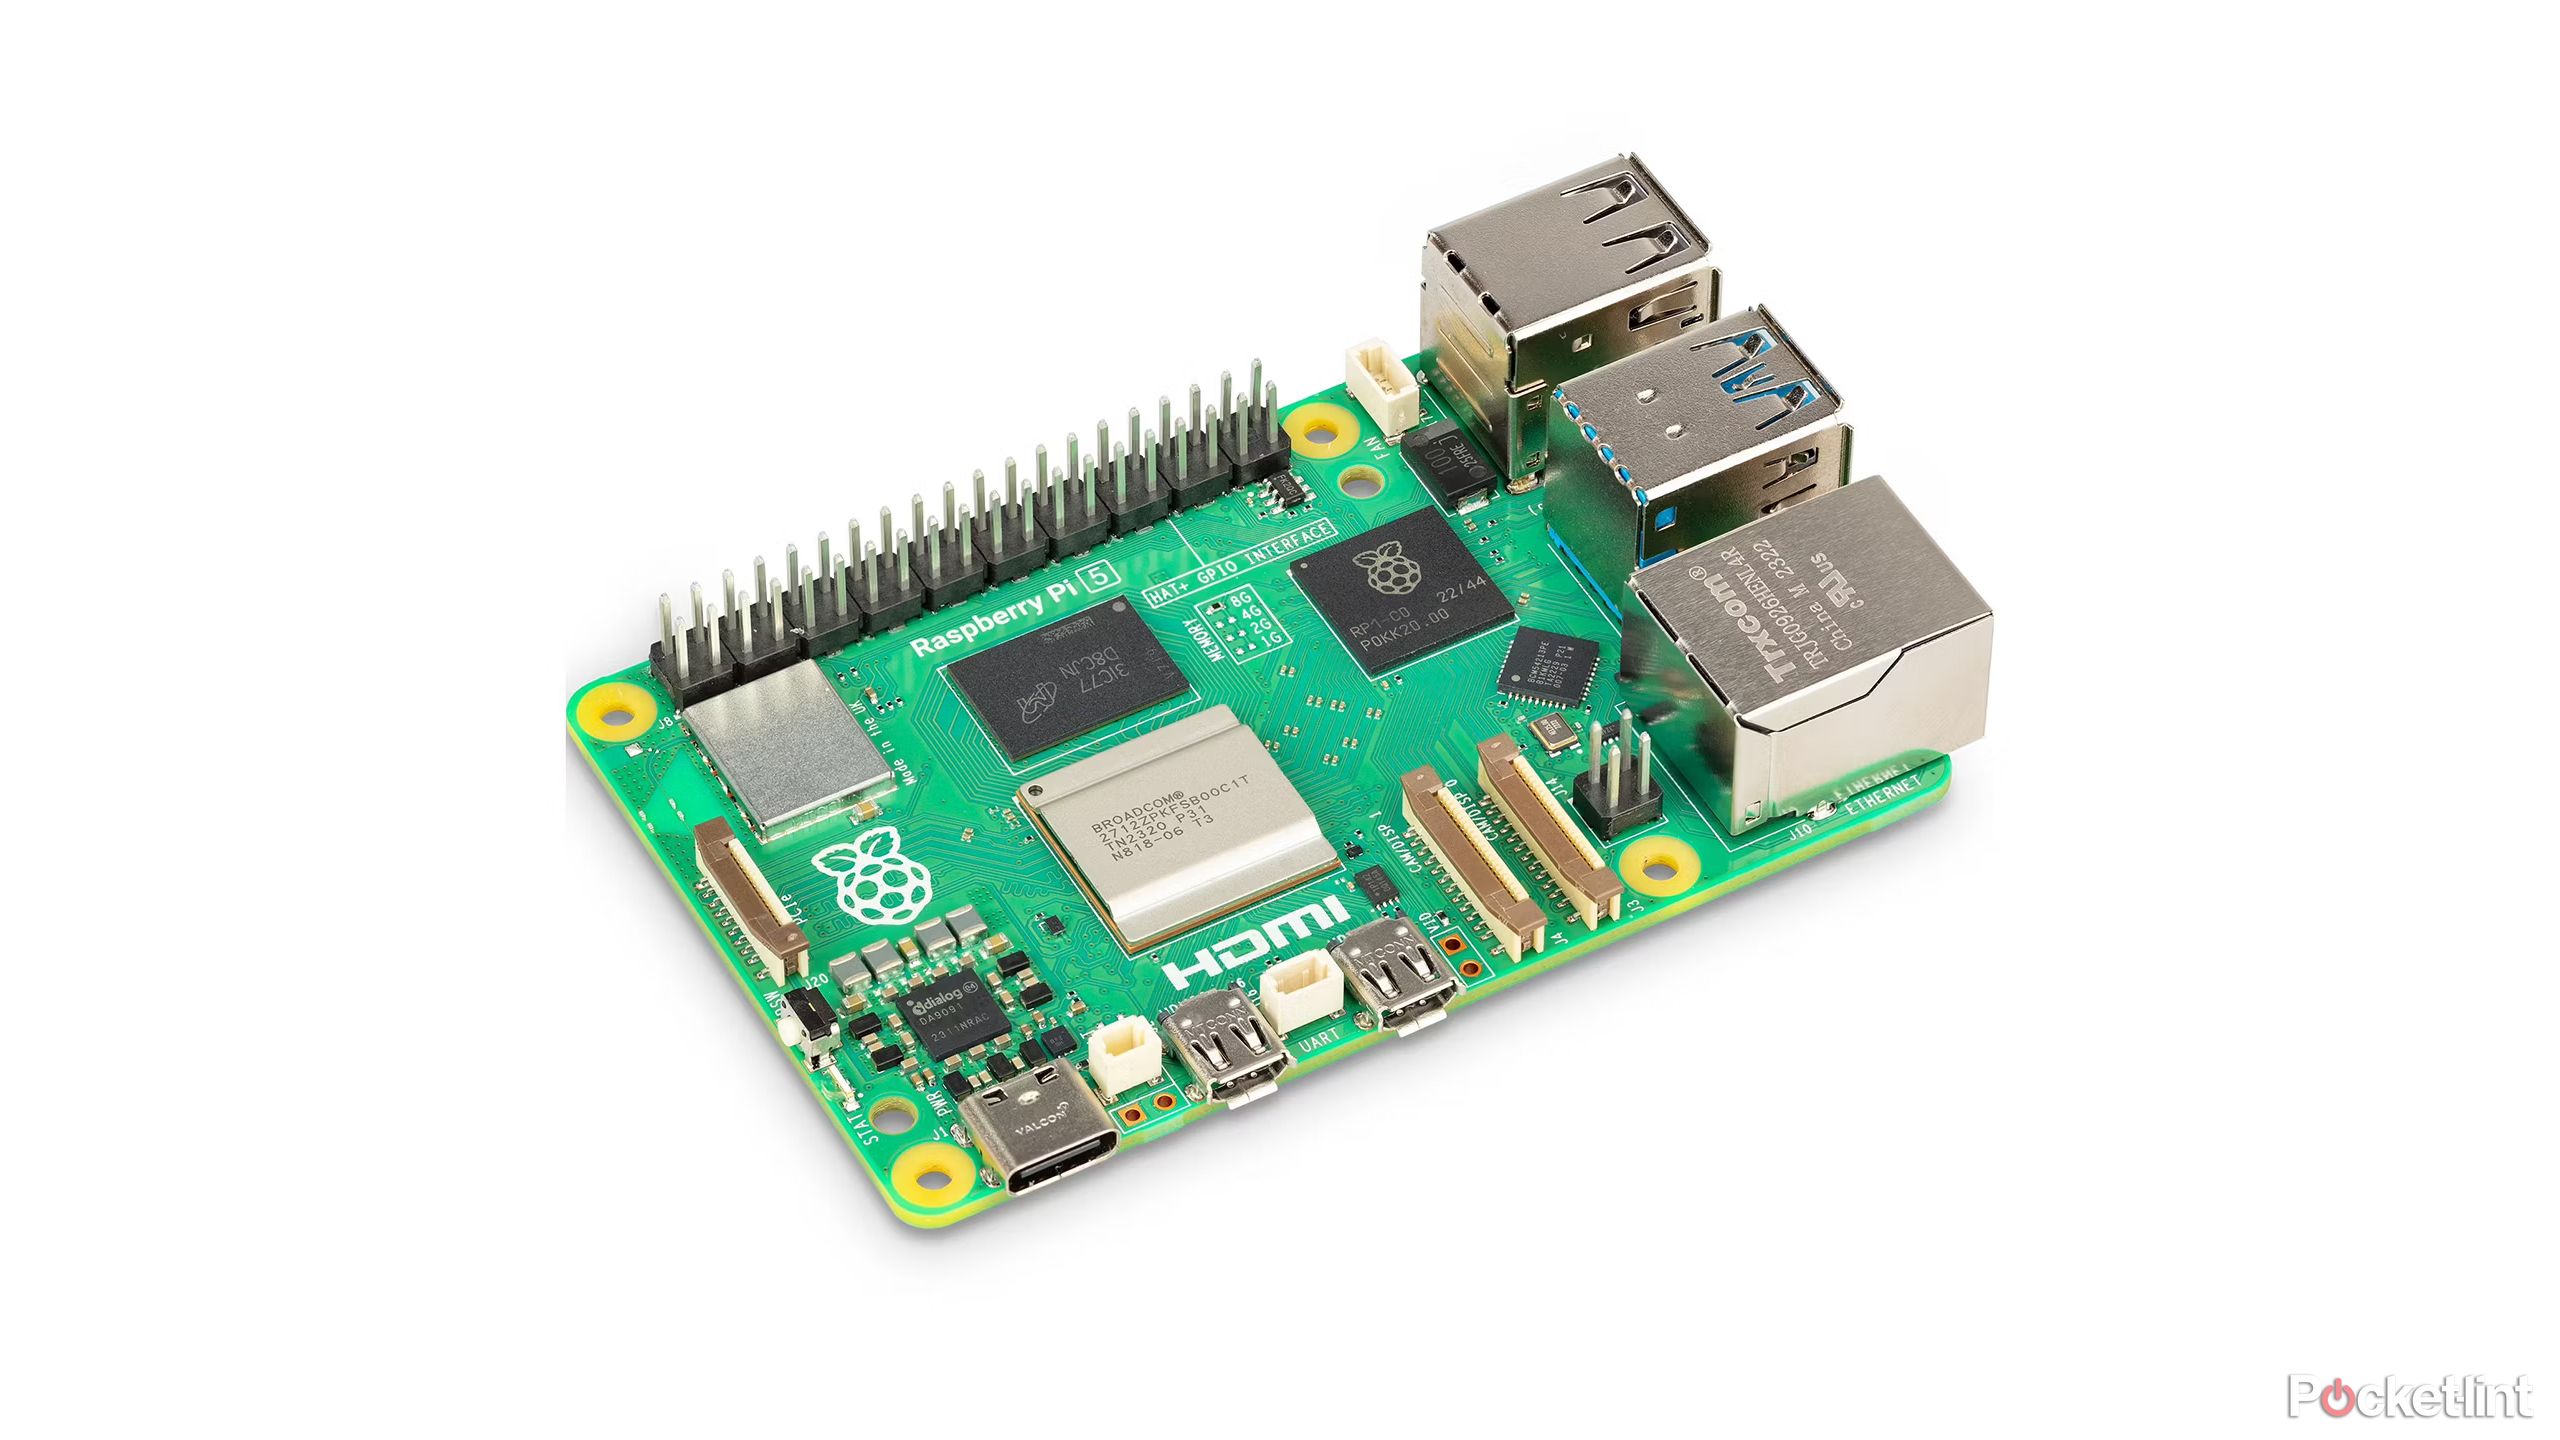
When we talk about "remote IoT" with a Raspberry Pi, we're basically thinking about how your little computer can send information to, or receive commands from, a distant place, usually over the internet. This setup lets you build smart devices that aren't tied to your immediate location. For example, you could have a sensor in your garden reporting soil moisture levels to your phone while you are away, which is pretty neat. The Raspberry Pi, being a small but quite capable computer, is a favorite for these kinds of tasks, largely because it's affordable and very versatile, so many people really like it.
The core idea is that your Raspberry Pi collects some kind of data, or it's waiting for a command. Then, it uses a special kind of service, what we call an IoT platform, to send that data to you or to get those instructions. This platform acts like a central hub, making sure the messages go where they need to go, securely and reliably. It's almost like a post office for your device's messages, you know, making sure everything arrives correctly. This capability makes all sorts of automated and monitored systems possible, which is quite useful.
Why Raspberry Pi for this? Well, it's pretty powerful for its size, can connect to many different kinds of sensors and gadgets, and it runs a proper operating system, which is usually some version of Linux. This means it's very flexible for programming and setting things up. It's a bit like having a tiny, general-purpose computer that you can mold to almost any task you can dream up. So, it's often the go-to choice for hobbyists and even some professional projects, too.
What Makes a Remote IoT Platform Stand Out?
To find the absolute best remote IoT platform for your Raspberry Pi, you need to think about what makes one platform truly excel over others. It's not just about getting data from point A to point B; it's about how well it handles all the little things that come with connecting devices. For instance, how easily can your Pi connect to it? Is the connection stable? These are very important questions, you see.
One big factor is how it handles information. Can it take a lot of data quickly? Does it store that data safely for you to look at later? A really good platform will make managing all the bits and pieces of information from your device feel simple. It should also let you make sense of that data, maybe by showing it to you in easy-to-read charts or graphs, which is quite helpful.
Then there's the matter of keeping things safe. When your device is out there on the internet, it needs to be protected from unwanted access. A top-tier platform will have strong security measures in place to keep your data and your device safe from prying eyes. This means things like secure ways for your Pi to identify itself and encrypted communication channels, so everything stays private, you know, just like a locked diary.
Ease of use is another huge consideration. Nobody wants to spend hours trying to figure out complicated settings. The best platforms usually have clear instructions, good support, and tools that make it straightforward to get your Raspberry Pi online and talking. This means less head-scratching and more time spent on actually building your cool project, which is rather nice. A platform that feels intuitive, that you can pick up fairly quickly, is often a winner.
Finally, cost is always a part of the picture. Some platforms are free for small projects but might charge more as you use them more. Others have different pricing structures. You'll want to find one that fits your budget, especially if you're just experimenting or starting out. It's about finding that sweet spot where you get all the features you need without breaking the bank, basically.
Top Choices for Raspberry Pi Remote IoT
When it comes to picking a remote IoT platform for your Raspberry Pi, there are quite a few options, each with its own strengths. Some are massive services from big tech companies, while others are more focused or even open-source. We'll look at a few that are often considered strong contenders, helping you see what might be the best fit for your own endeavors, you know, the ones that really stand out.
Cloud-Based Giants
These are the big players, offering a wide array of services that go beyond just connecting your device. They're very powerful and can handle a lot of devices and data, which is great for bigger projects. For instance, Amazon Web Services (AWS) IoT Core is a very popular choice. It lets your Raspberry Pi connect, send data, and receive commands with pretty strong security built in. It's got a lot of tools for managing your devices and processing the information they send, too. It's rather comprehensive.
Another big one is Microsoft Azure IoT Hub. This platform is also quite robust, offering similar capabilities for connecting devices, managing them, and routing their data. It integrates well with other Microsoft services, which can be a plus if you're already using those. Both AWS and Azure have free tiers for getting started, which is a good way to test them out without spending money right away. They can feel a bit complex at first because they offer so much, but they are incredibly capable, you know, for handling serious work.
Developer-Friendly Options
Then there are platforms that are perhaps a bit easier to get started with, especially for someone who might not be a cloud expert. Adafruit IO is a good example here. It's designed with makers and hobbyists in mind, offering a straightforward way to send data from your Raspberry Pi to the cloud and visualize it. It's got clear examples and libraries that make coding for it pretty simple, which is very nice. It’s often recommended for beginners because of its approachable nature, you see.
Another option that used to be quite popular, though its direct IoT Core service has changed, is Google Cloud's offerings, like Pub/Sub. While not a direct IoT platform in the same way as AWS IoT Core, Google Cloud provides components that you can piece together to build your own remote IoT system. This gives you a lot of flexibility if you want to customize things deeply. It might require a bit more setup work, but it offers a lot of control over how your data flows and is processed, which is quite powerful.
Open-Source and Self-Hosted Solutions
For those who like to have complete control, or who prefer not to rely on big cloud providers, open-source options are a great way to go. MQTT (Message Queuing Telemetry Transport) brokers like Mosquitto are a prime example. MQTT is a lightweight messaging protocol that's perfect for small devices like the Raspberry Pi. You can set up your own MQTT broker on another Raspberry Pi, a server, or even on the same Pi if it's powerful enough, you know, to handle the load. This gives you full ownership of your data and infrastructure.
Node-RED is another fantastic open-source tool that works wonderfully with Raspberry Pi. It's a visual programming tool for wiring together hardware devices, APIs, and online services. You can run Node-RED directly on your Raspberry Pi and use it to build flows for sending and receiving data from other devices or cloud services. It's very flexible and allows for quick prototyping, which is quite handy. It's a bit like building with digital LEGO bricks, allowing you to visually construct your data flows, so it's quite intuitive for many.
Getting Your Raspberry Pi Ready for Remote Control
Before you pick a platform, you need to make sure your Raspberry Pi is prepared for its remote duties. This means a few basic steps that are pretty important for any project involving internet communication. First, you'll want to make sure your Pi has the latest software updates. This helps with security and makes sure everything runs smoothly, which is a good practice, you know, for keeping things tidy.
You'll also need to consider how your Pi will connect to the internet. Most Raspberry Pis have Wi-Fi, which is often the easiest way. Make sure it's connected to a stable network. For more permanent installations, an Ethernet cable can provide a more reliable connection, which is often preferred for critical systems. You want that connection to be pretty solid, you see, so your data doesn't get lost.
Then, depending on the platform you choose, you'll likely need to install some specific software libraries or tools on your Raspberry Pi. These are what allow your Pi to talk to the platform's services. For example, if you're using AWS IoT Core, you'd install their SDK (Software Development Kit) for Python or Node.js. These installations are usually straightforward, but following the platform's specific guides is a good idea, you know, to avoid any hiccups.
It's also a good practice to set up your Raspberry Pi for secure remote access, perhaps using SSH (Secure Shell). This allows you to log in and control your Pi from another computer without needing a monitor or keyboard connected directly to it. This is super useful for managing your device once it's deployed in a remote location. Just remember to use strong passwords and, if possible, set up key-based authentication for even better security, which is very important for keeping your system safe.
Picking the Ideal Platform for Your Endeavor
Choosing the best remote IoT platform for your Raspberry Pi really comes down to what you want to achieve with your project. There isn't a single "best" for everyone, as what excels for one person might not be the absolute number one for another. It's more about finding the platform that truly fits your specific needs and comfort level, you know, the one that feels right.
If you're just starting out, or if your project is fairly simple, a more developer-friendly option like Adafruit IO might be a great place to begin. It's often simpler to grasp and get going with, which can save you a lot of frustration. It's a bit like learning to ride a bike with training wheels, giving you a stable start.
For more ambitious projects that might scale up later, or if you're comfortable with a bit more complexity, the cloud giants like AWS IoT Core or Microsoft Azure IoT Hub offer incredible power and flexibility. They can handle a vast number of devices and a huge amount of data, which is pretty important if your project grows. They are designed for very large-scale operations, so they have a lot of features, too.
If you value complete control over your data and infrastructure, or if you're working on a budget and have some technical know-how, then open-source and self-hosted solutions like an MQTT broker or Node-RED might be your preferred path. These give you the freedom to customize everything to your heart's content, which is very appealing to some people. It's almost like building your own house from the ground up, allowing you to pick every detail.
Consider your own skills, too. Are you comfortable with coding? Do you prefer visual tools? Some platforms cater more to coders, while others offer graphical interfaces. Picking a platform that matches your skill set will make the whole process much more enjoyable and less of a struggle. You want to feel pretty good about what you're doing, you know.
Finally, think about the future of your project. Do you plan to add more devices? Will you need to process a lot of data? Some platforms are better suited for growth than others. Choosing a platform that can grow with your ideas will save you from having to switch later on, which can be a real hassle. It's about looking ahead, basically, and making a choice that will serve you well in the long run.
Tips for a Smooth Remote IoT Project
Getting your remote IoT project with Raspberry Pi up and running smoothly involves a few helpful practices. These can make a big difference in how successful and enjoyable your experience is. One key thing is to start small. Don't try to build a super complex system right away. Begin with a simple goal, like just sending a temperature reading from your Pi to the cloud, and then build on that, you know, step by step.
Always keep security in mind. This means using strong, unique passwords for your Pi and any platform accounts. If your platform offers two-factor authentication, enable it. Also, make sure your data is encrypted when it travels over the internet. These steps are pretty important for keeping your project safe from unwanted access, which is very crucial in today's connected world.
Test your connections often. Before you deploy your Raspberry Pi to a remote location, make sure it can reliably connect to your chosen IoT platform. Test sending data and receiving commands multiple times to ensure everything is working as expected. This can save you a lot of trouble later on, especially if your device is in a hard-to-reach spot, you know, somewhere far away.
Document your setup. Write down how you configured your Raspberry Pi, what software you installed, and how it connects to the platform. This will be incredibly helpful if you need to troubleshoot issues later or if you want to replicate your project. It's a bit like writing down a recipe, so you can make it again perfectly.
Monitor your device's health. Keep an eye on your Raspberry Pi's performance, like its CPU usage and temperature. Some platforms offer ways to monitor your devices remotely. This can help you spot potential problems before they become big issues. For example, if your Pi starts running too hot, you might need to adjust its setup, which is something you'd want to know pretty quickly.
And remember, there's a huge community of Raspberry Pi and IoT enthusiasts out there. If you run into a problem, chances are someone else has faced it too. Don't hesitate to search online forums, community groups, or documentation for help. Learning more about Raspberry Pi projects on our site can also provide useful insights, and you can also find a lot of support on various online communities. This collaborative spirit is a big part of what makes working with these technologies so rewarding, you know, the sharing of knowledge.
Frequently Asked Questions
What is the easiest way to remotely access Raspberry Pi?
The simplest method to access your Raspberry Pi from afar is often by using SSH (Secure Shell). This lets you open a command-line interface to your Pi from another computer. For a more visual experience, you could set up VNC (Virtual Network Computing), which gives you a graphical desktop view. Many remote IoT platforms also provide their own ways to send commands to your Pi through their dashboards, which is pretty convenient for managing your devices.
How do I connect my Raspberry Pi to the cloud?
To link your Raspberry Pi to a cloud service, you typically need to install specific software libraries or SDKs provided by the cloud platform (like AWS IoT Core or Microsoft Azure IoT Hub). These tools help your Pi establish a secure connection and send data. You'll usually write a small program on your Pi that gathers information from sensors and then uses these libraries to publish that data to the cloud, which is quite straightforward once you get the hang of it.
Can I use my Raspberry Pi as an IoT hub?
Absolutely! A Raspberry Pi is very capable of acting as a local IoT hub. You can use it to collect data from other smaller devices (like ESP32s or Arduinos) via Bluetooth, Wi-Fi, or wired connections. The Pi can then process this data locally or forward it to a cloud-based IoT platform for further analysis or storage. It's a versatile little machine for this kind of central role, which is why many people use it for this very purpose.
When thinking about your next project, remember that the best remote IoT platform for your Raspberry Pi is the one that aligns most closely with your project's demands, your comfort with technology, and your financial plan. Exploring resources like this page for more technical details can also be quite helpful. There are so many options out there, each with its own advantages, so take your time to consider what will make your remote IoT dreams a reality. You know, finding that perfect fit is what it's all about.
Best Raspberry Pi in 2024

Best Raspberry Pi in 2024

Best RemoteIoT Platform SSH Key Free Raspberry Pi
